
In this guide, we’ll show you how to get started on Poptop – from sign up to your first booking. We’ll cover…
- The sign up process
- How to get your listings live, and tips for creating good ones.
- How Poptop bookings work
- How you get paid, and how Poptop gets paid.
Let’s dive right in, shall we?
Signing up to Poptop.
If you’re reading this guide, there’s every chance you’ve already signed up to Poptop. If not, it couldn’t be easier. Just head to our supplier page to get started.
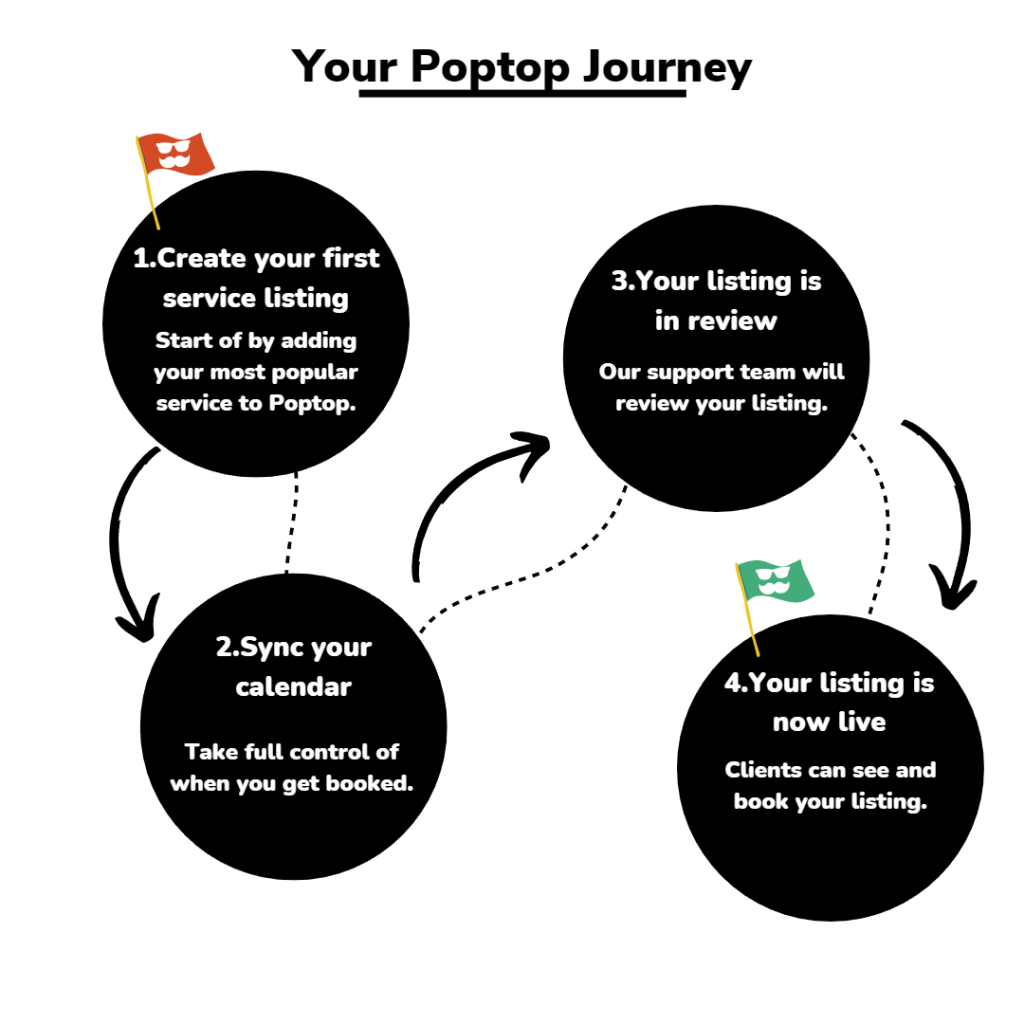
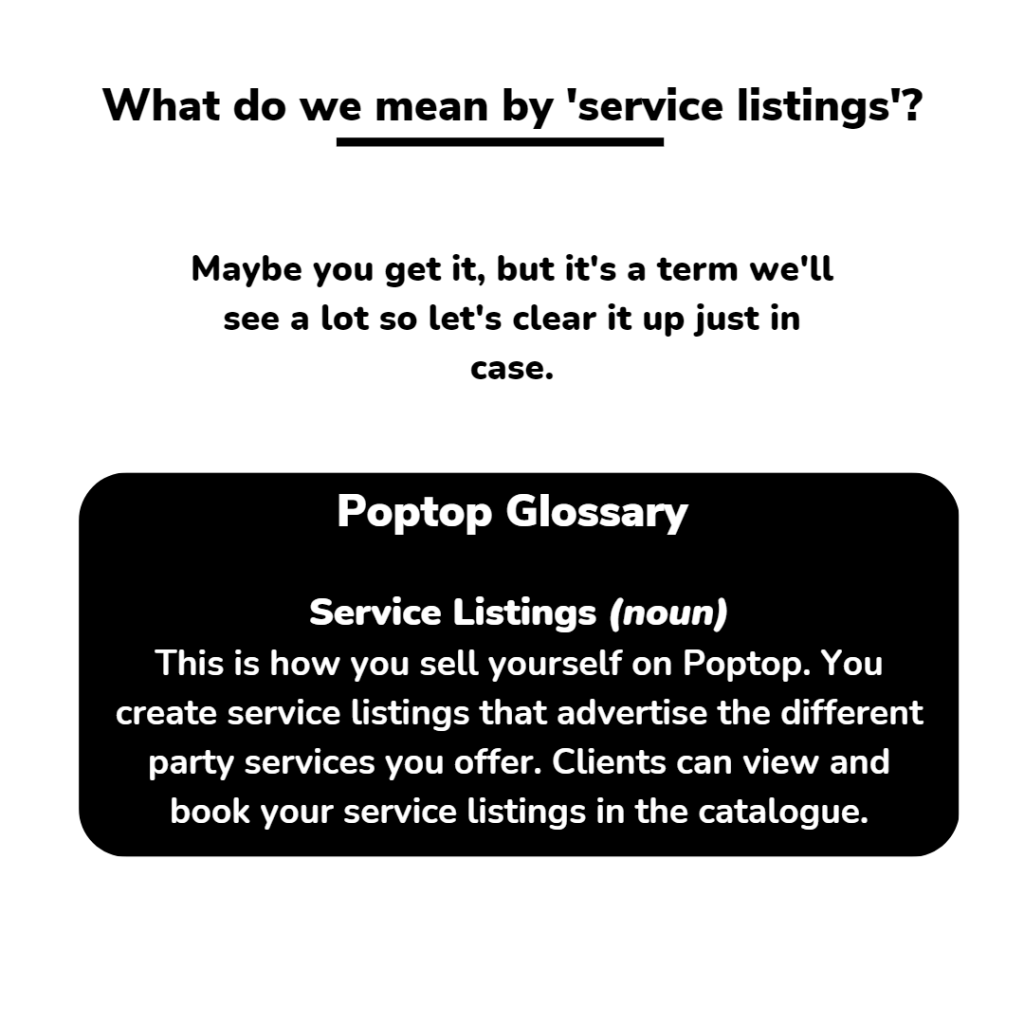
Now that you’ve joined the Poptop team, we need to get you live and available for bookings on our platform. You do that by creating Service Listings.
How to create service listings.
First off, let’s clear up what we mean by ‘service listings’.
ONE THING TO KEEP IN MIND.
Creating great service listings takes a bit of work. It’ll take you some time to write your descriptions and choose great images.
But here’s the good news.
Once you’ve set up your service listings, the hard work is all done! Our live pricing & availability system means you won’t have to worry about generating quotes. So get this bit right, and you’re off to a flyer.
We recommend getting started with your first service listing as soon as you sign up. If you do decide to wait, you’ll get an email to remind you after a day or two.
Creating your first service listing.
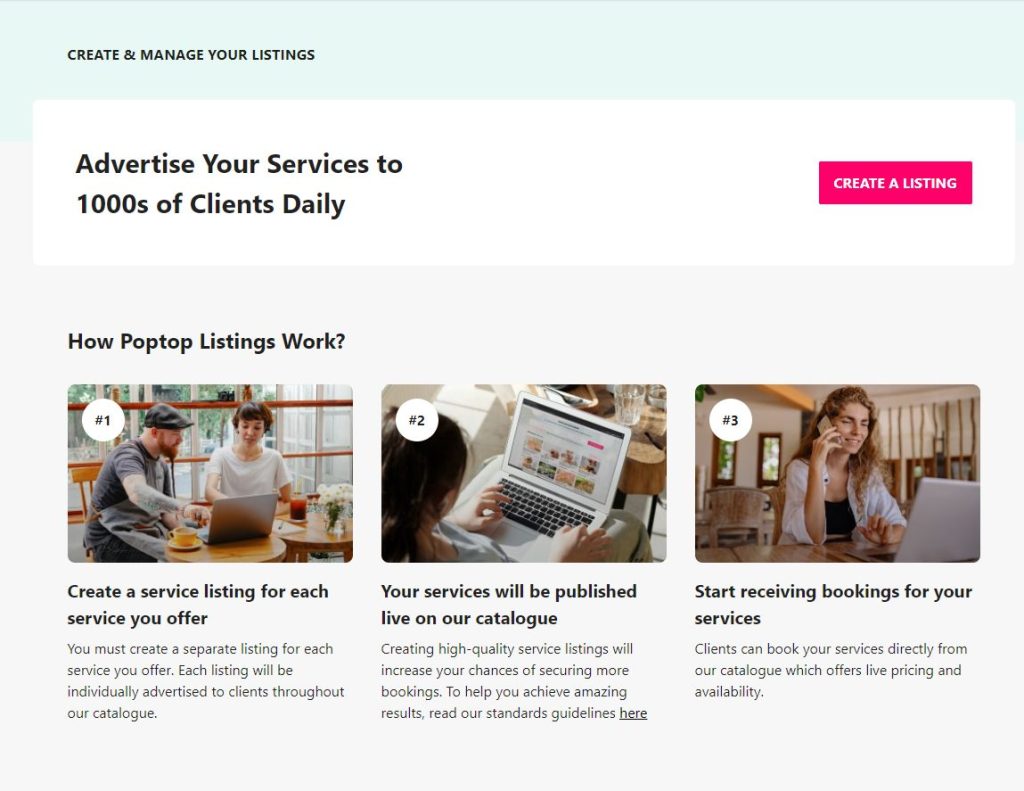
You can create multiple service listings on Poptop – in fact, we encourage it! All you have to do is make sure your listings offer something distinctly different from one another. Your Poptop Guide can help you get this right.
For your first listing, start with the most popular service you offer. So, your most popular menu, product, music style, or show type. You can add the rest as separate listings later.
Our step-by-step guide will show you how to build brilliant services easily. Here are a couple of useful things to keep in mind.
- Visuals are everything. They sell your service and experience to potential clients. Choose high-quality, professional visuals that really showcase your listing. If you can, include visuals of guests enjoying your service at their event.
- Write exciting titles. Your listing title displays along with your main image on our catalogue. Make sure it really stands out from the crowd and makes your service sound extraordinary.
- Use descriptions to take your guests on a journey. The descriptions are your chance to make your service feel unmissable. Give your clients a real sense of what they can expect from having you at their event.
- Answer every client question. We have a Q&A section that allows you to provide answers to FAQs about your service. A comprehensive Q&A section really increases your chances of securing bookings.
- Get your prices right. Take a moment to think about your pricing, and make sure it’s competitive for your category. You can use modifiers to increase your prices on certain days and holidays. Make sure your travel costs are spot on, too.
So you’ve created a listing. What happens next?
Once you’ve finished creating your listing, it’ll be submitted for review. That’s when a member of the Poptop team checks your listing, so make sure it meets our platform standards, and everything is as good as it possibly can be.
If it passes review. Your listing will go live on our catalogue, ready for bookings. Cha-ching!
If it doesn’t pass review. Our team will reach out to let you know what you need to do to get your listing live. It’s usually pretty straightforward!
Once your listing passes review, there’s one thing left to do before you’re up and running.
Update your availability.
Availability is EVERYTHING on Poptop. In fact, it’s so important that we’ve dedicated a whole supplier guide to calendar updates. You can read that here.
We’ll go into more detail on why availability is important in the next article. For now, just take it from us – it’s crucial to Poptop’s success.
There are two different ways to update your Poptop calendar.
- SYNC YOUR CALENDAR (the easiest and best way!)
- MANUALLY UPDATE YOUR AVAILABILITY
KEEP IN MIND
Whether you sync or manually update – you need to have at least 1 date blocked out in your calendar at all times. If you have less than 1, you’ll be hidden from the catalogue until you update.
Once your listings pass review and your calendar is updated, you’ll officially be live on Poptop!
Now you can sit back, relax, and wait for the bookings to roll in. ‘But how do I actually get booked?’, we hear you cry.
Let’s find out.
How Poptop bookings work.
We’ll take you through the booking process step-by-step, and by the end, you’ll understand exactly how it all works (including how and when you get paid!).
1. A client finds your service in the Poptop catalogue.
Your future client starts their Poptop journey by inputting their event details in our search window. They can specify by category of supplier, or just get inspired by our category suggestions.
As an example, let’s say they’re looking for a private chef for a birthday party. They’d input their event details, choose the right category, and search.

2. A client clicks through to your service
In the catalogue, our client will see all relevant services in their area with availability for their event date (see why availability is so important?).
When a service piques their interest, they can click through to find out more.
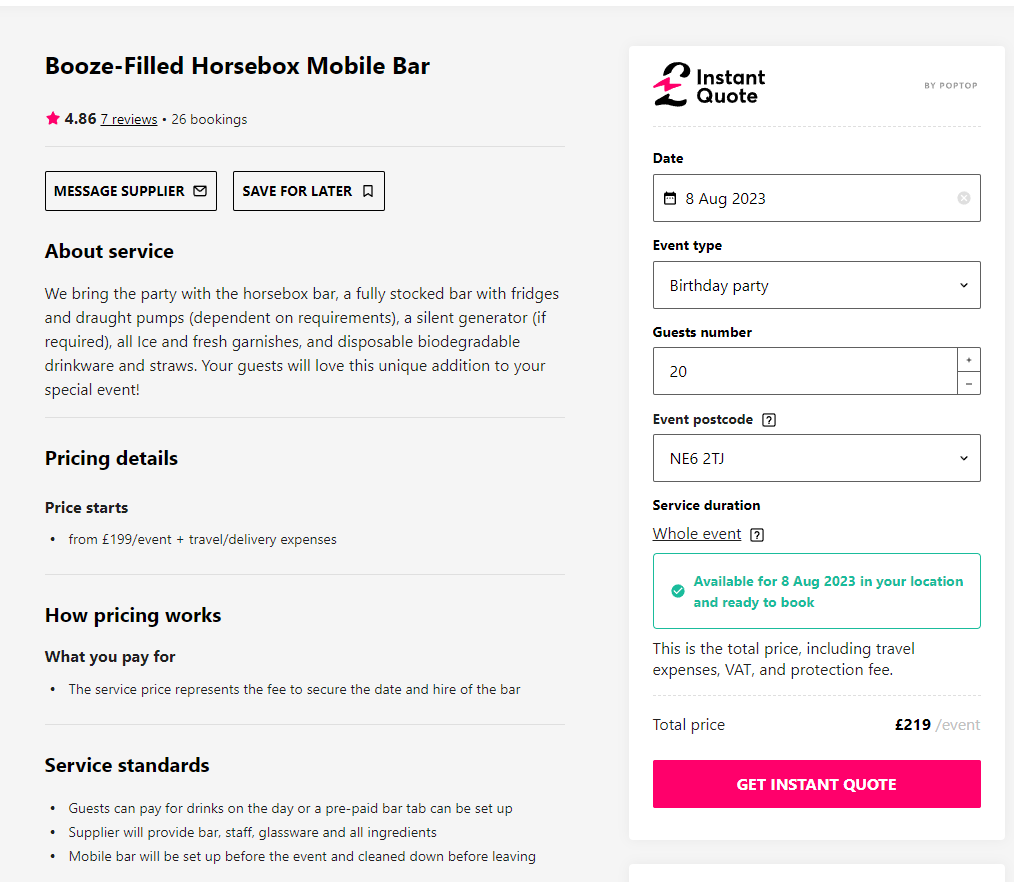
This window shows all the information you provided when you created your service listing – you can see why it’s so important to get it right!
From here, a client can book straight away (GET INSTANT QUOTE), get in touch with any questions (MESSAGE SUPPLIER) or – the most popular option, shortlist your service (SAVE FOR LATER).
In this example, we’ll say our client has selected ‘Save For Later’.
3. We’ll let you know you’ve been shortlisted.
Next, you’ll get an email from us to tell you that you’ve been shortlisted by a client. At this point, we recommend reaching out to the client by using our in-built Poptop messenger.
You can read more about messaging clients on Poptop in our dedicated guide.
4. Your client requests to book.
Once the client is ready, they’ll click ‘BOOK NOW’. At this point, they’ll be prompted to pay the deposit you set when you created your service listing.
This is the point where we take our supplier fee.
HOW POPTOP DEPOSITS WORK.
When you create your listing
You’ll be asked to set your deposit. You can set it anywhere between 12% and 100%.
When you get booked.
Your client will pay the deposit to secure the booking. Poptop then takes a 12% commission on the full booking value, and the rest is transferred to you 14 days before the event.
Any remaining balance can be settled directly between you and the client, on whatever payment terms you choose.

Once we’ve received payment from the client, we’ll reach out to you and ask you to confirm the booking.
5. You confirm the booking.
Once you confirm the booking, you’re all done! We’ll make contact details available to both you and the client. You can chat to the client, finalise details, and organise the remaining payment.
Let’s recap that booking process one more time.

So there you have it! That’s how you get found, booked, and paid on Poptop.
Next in our Supplier Guide, we take a look at your Poptop calendar – revealing why it’s so important to Poptop’s success.
Recap
To recap the how Poptop works, here’s a tutorial video of the client booking journey.